👋
Hush Line Documentation
Let's get you set up! Hush Line works best as a background service - once configured, we'll deliver messages to your inbox, so you never have to worry about logging back in. 😎
Step 1.
Create a Hush Line account
Hush Line does not require personally identifiable information (PII) to register a tip line. If you need advanced levels of privacy, we offer an Onion service that can be accessed using the Tor Browser.
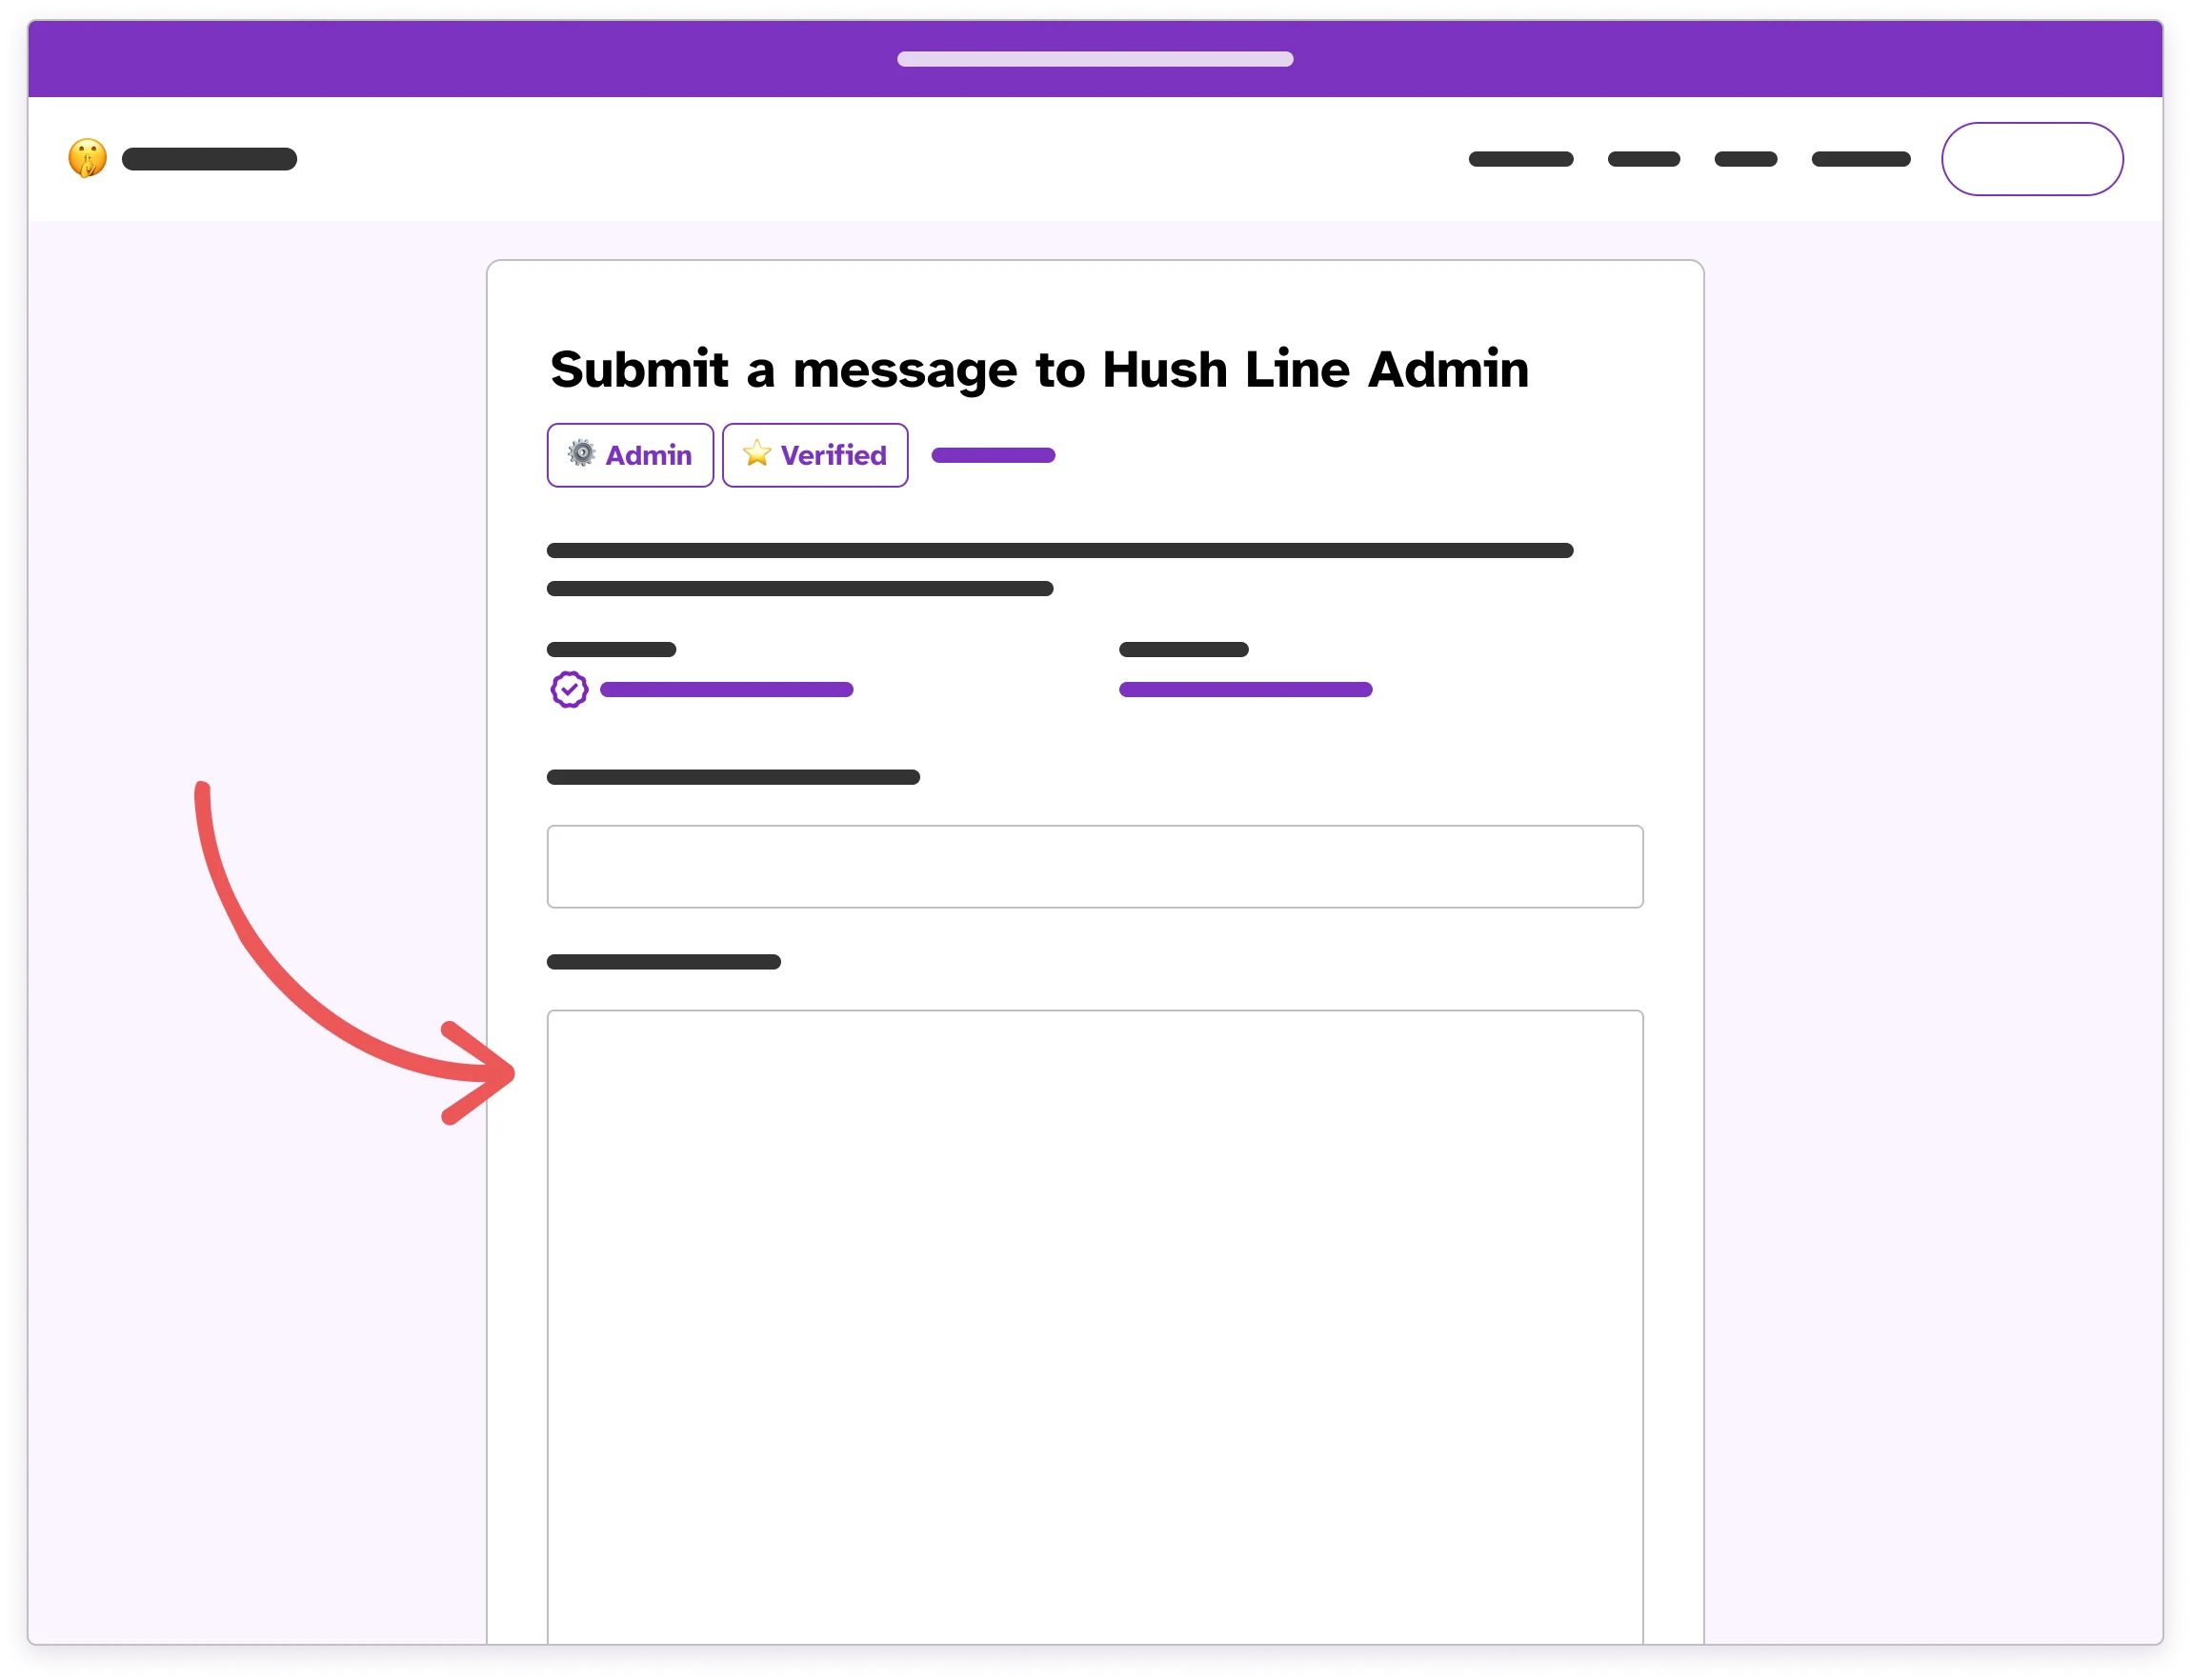
Message submitters are not required to create an account and may also choose to use our Onion service to access the app.
First, create your account:
Register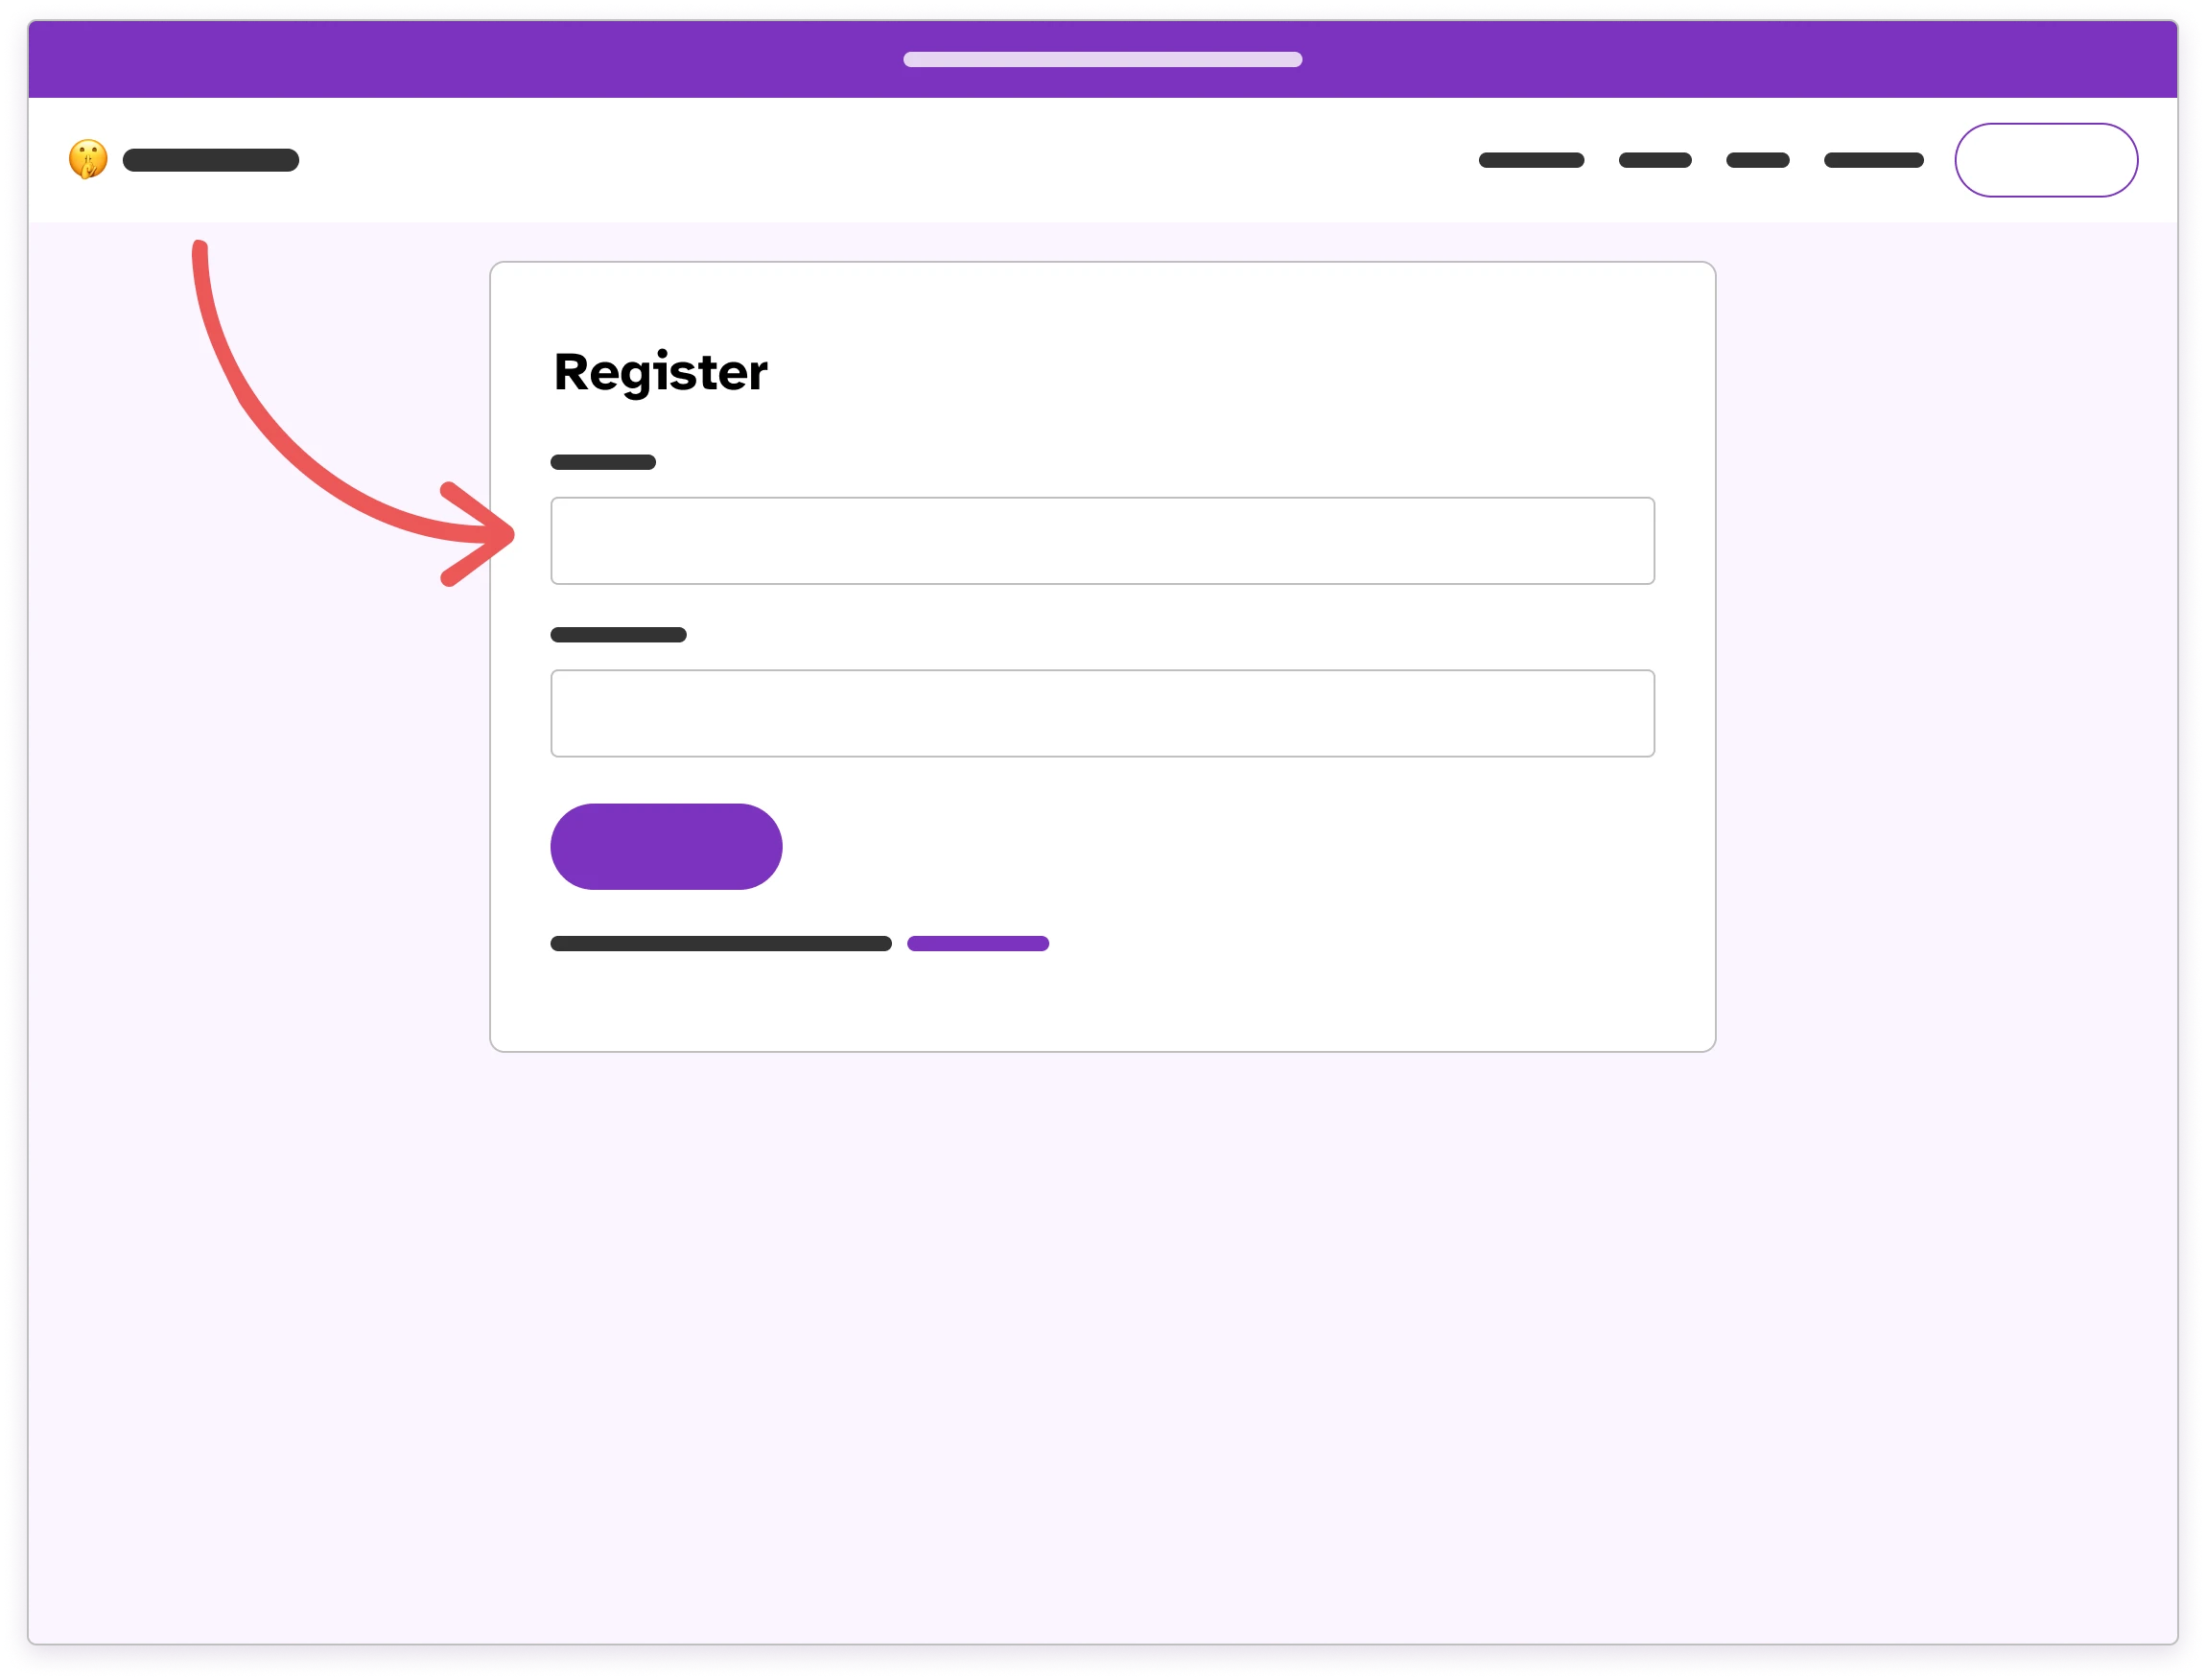
Step 2.
Log in to Hush Line
Hush Line allows you to control the encryption key used to secure your messages. Below, we'll cover two options for preparing your account. Now that you've registered log in to your Hush Line account:
Login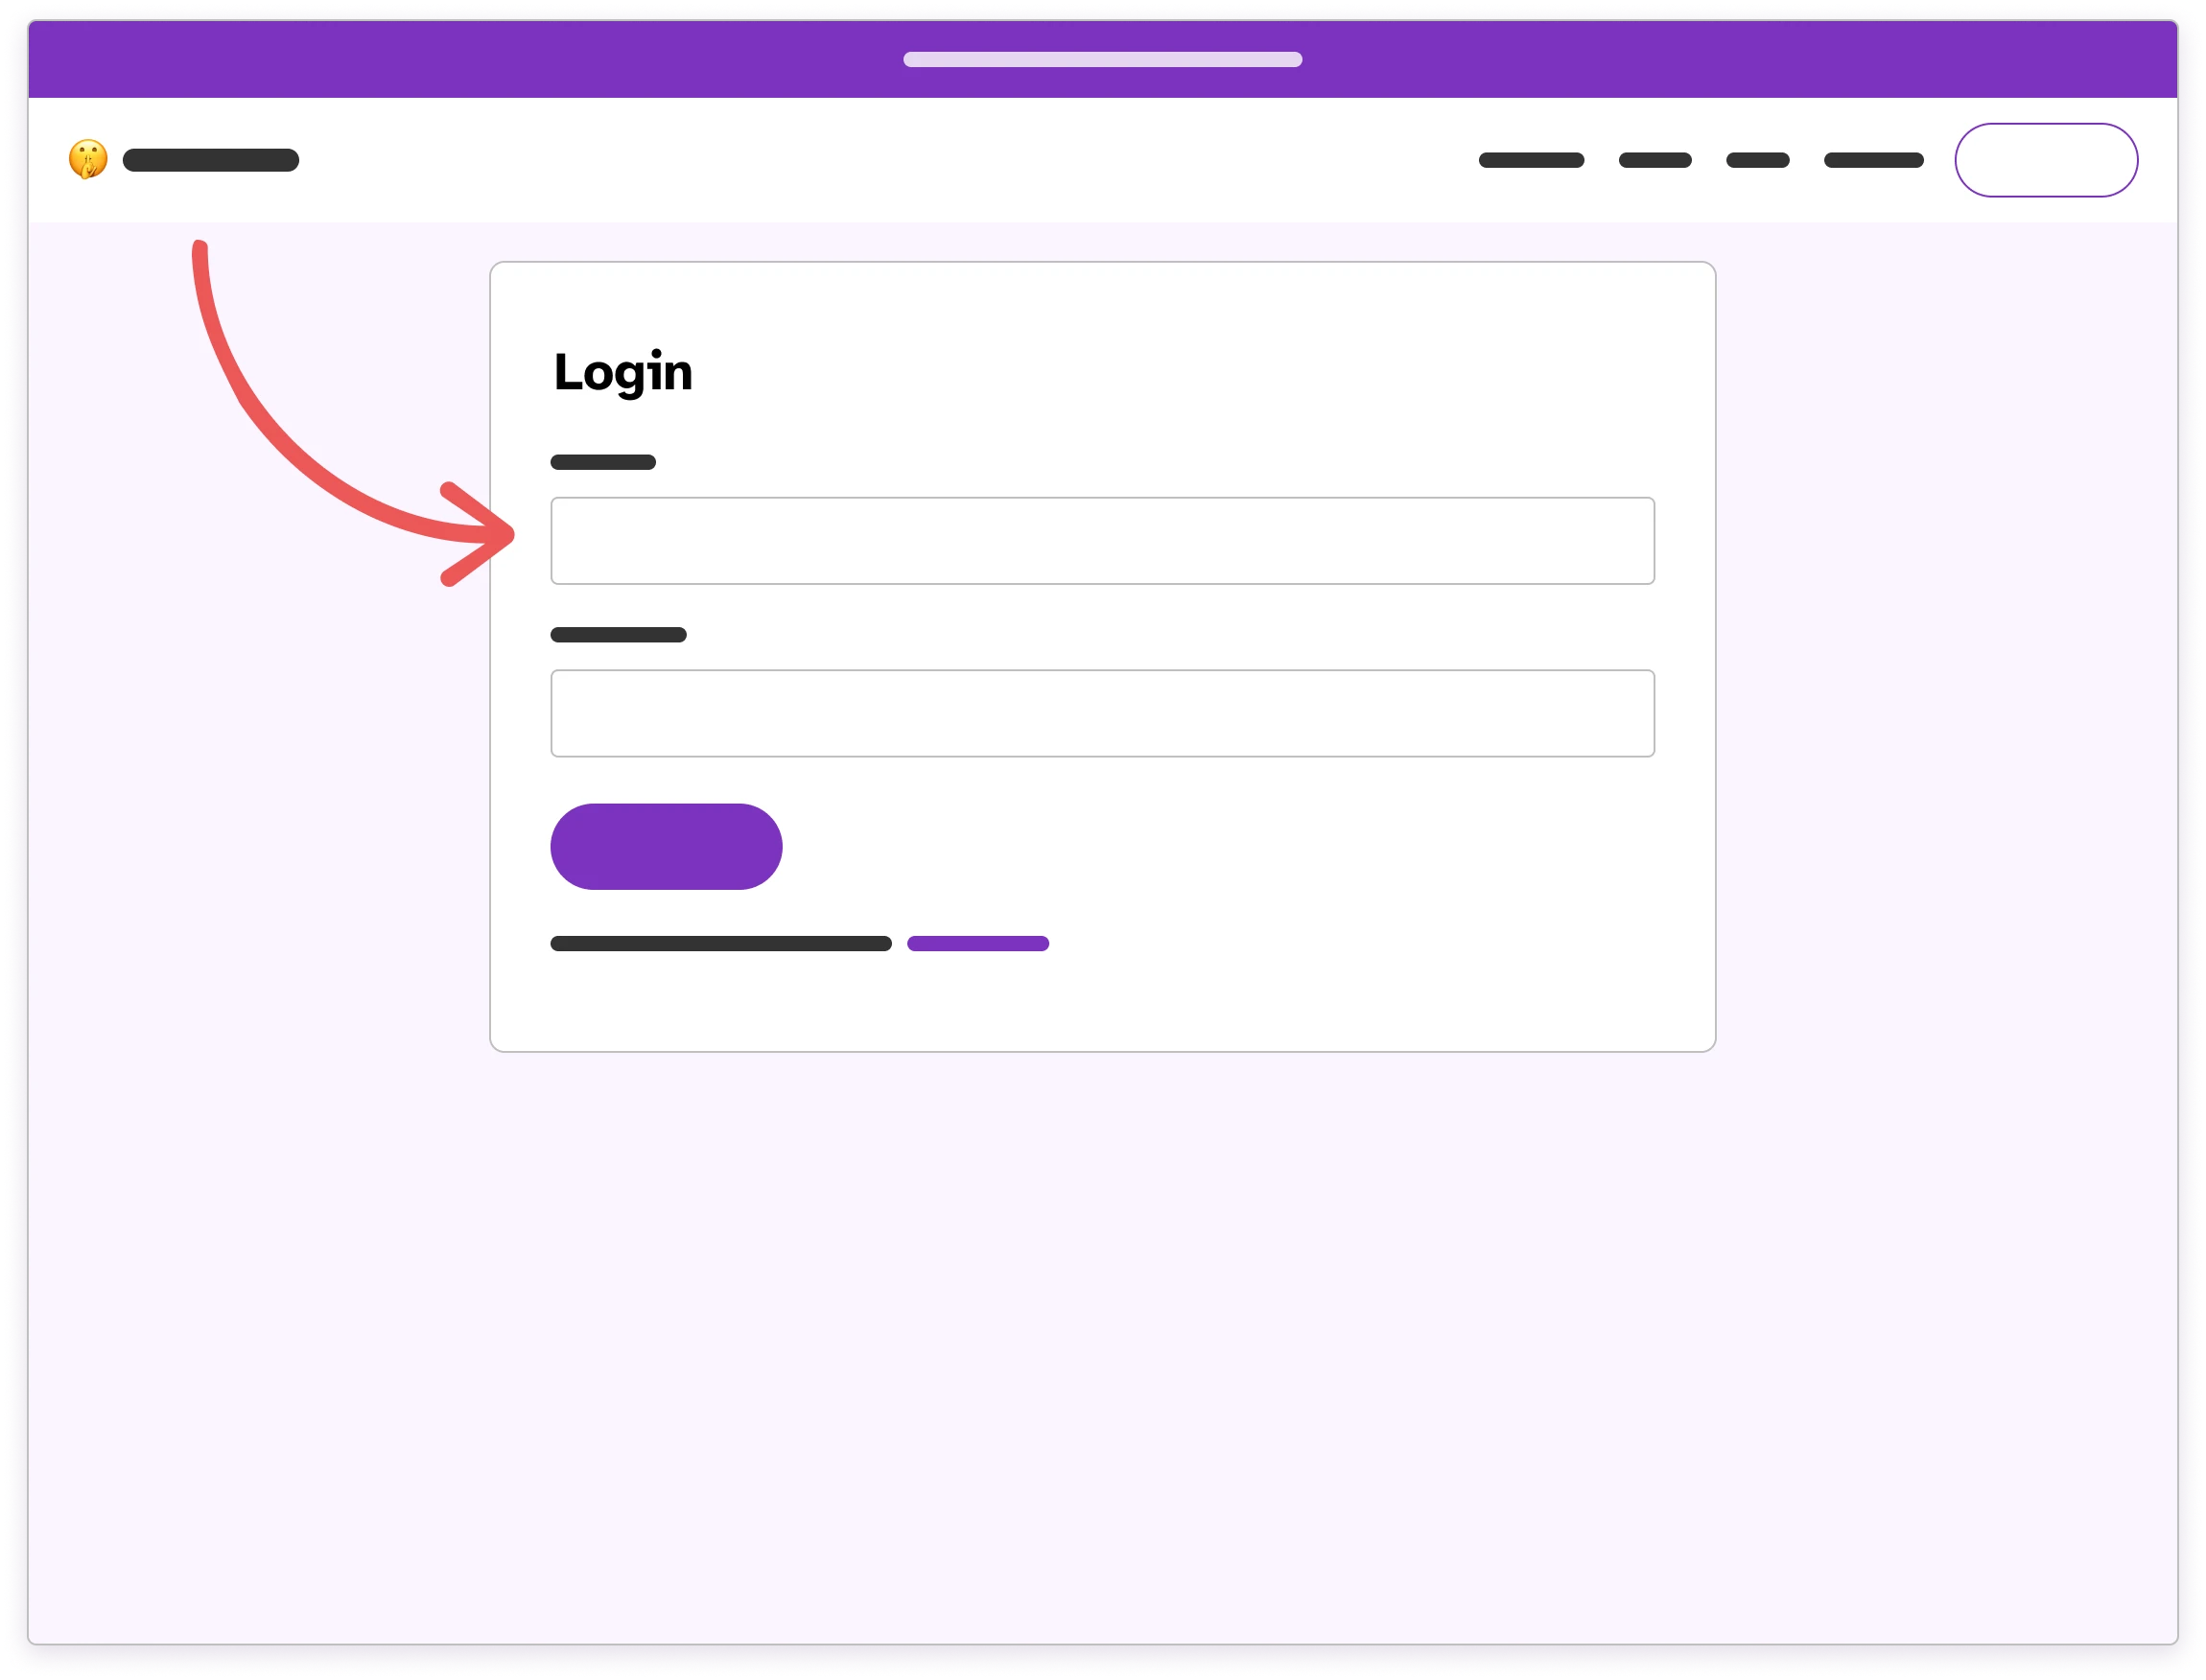
Option 2.1.
Use with Proton Mail
Once set up, we'll deliver messages to your Proton Mail inbox, so you never have to worry about logging back into Hush Line to receive a message. The benefit of using Proton is that Hush Line uses the same encryption technology, so when your message is delivered, it will be seamlessly decrypted for you to read!
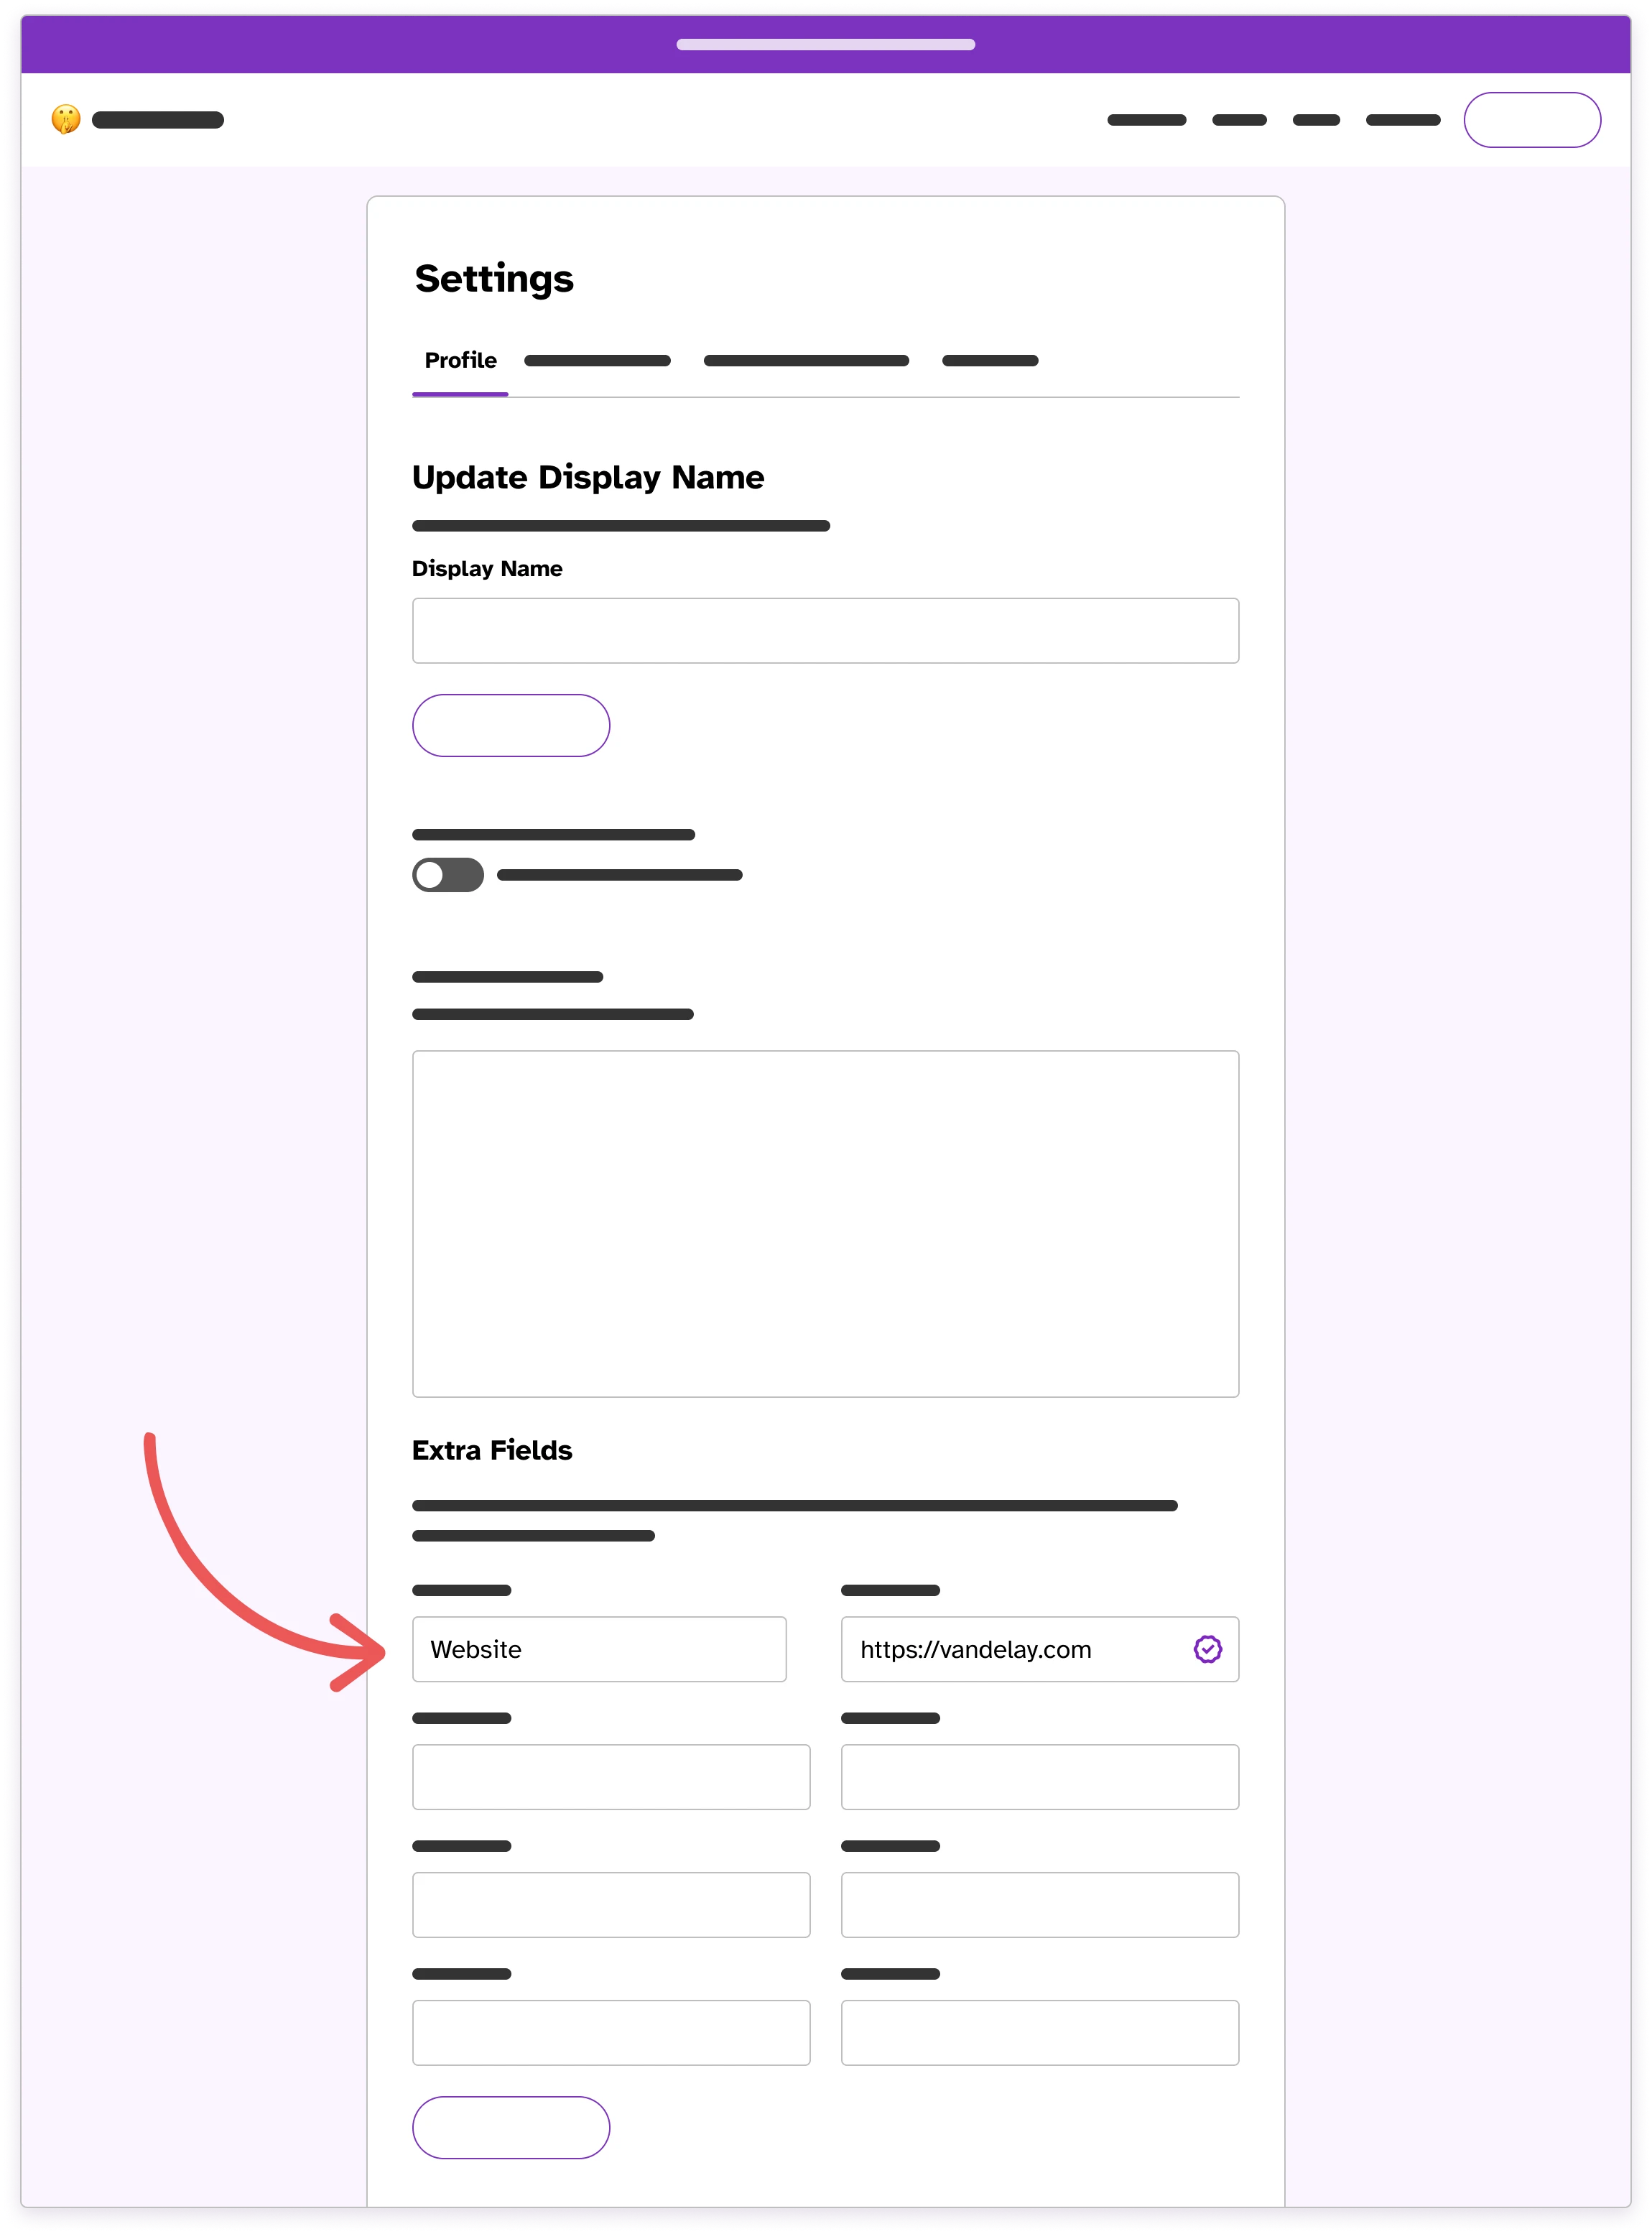
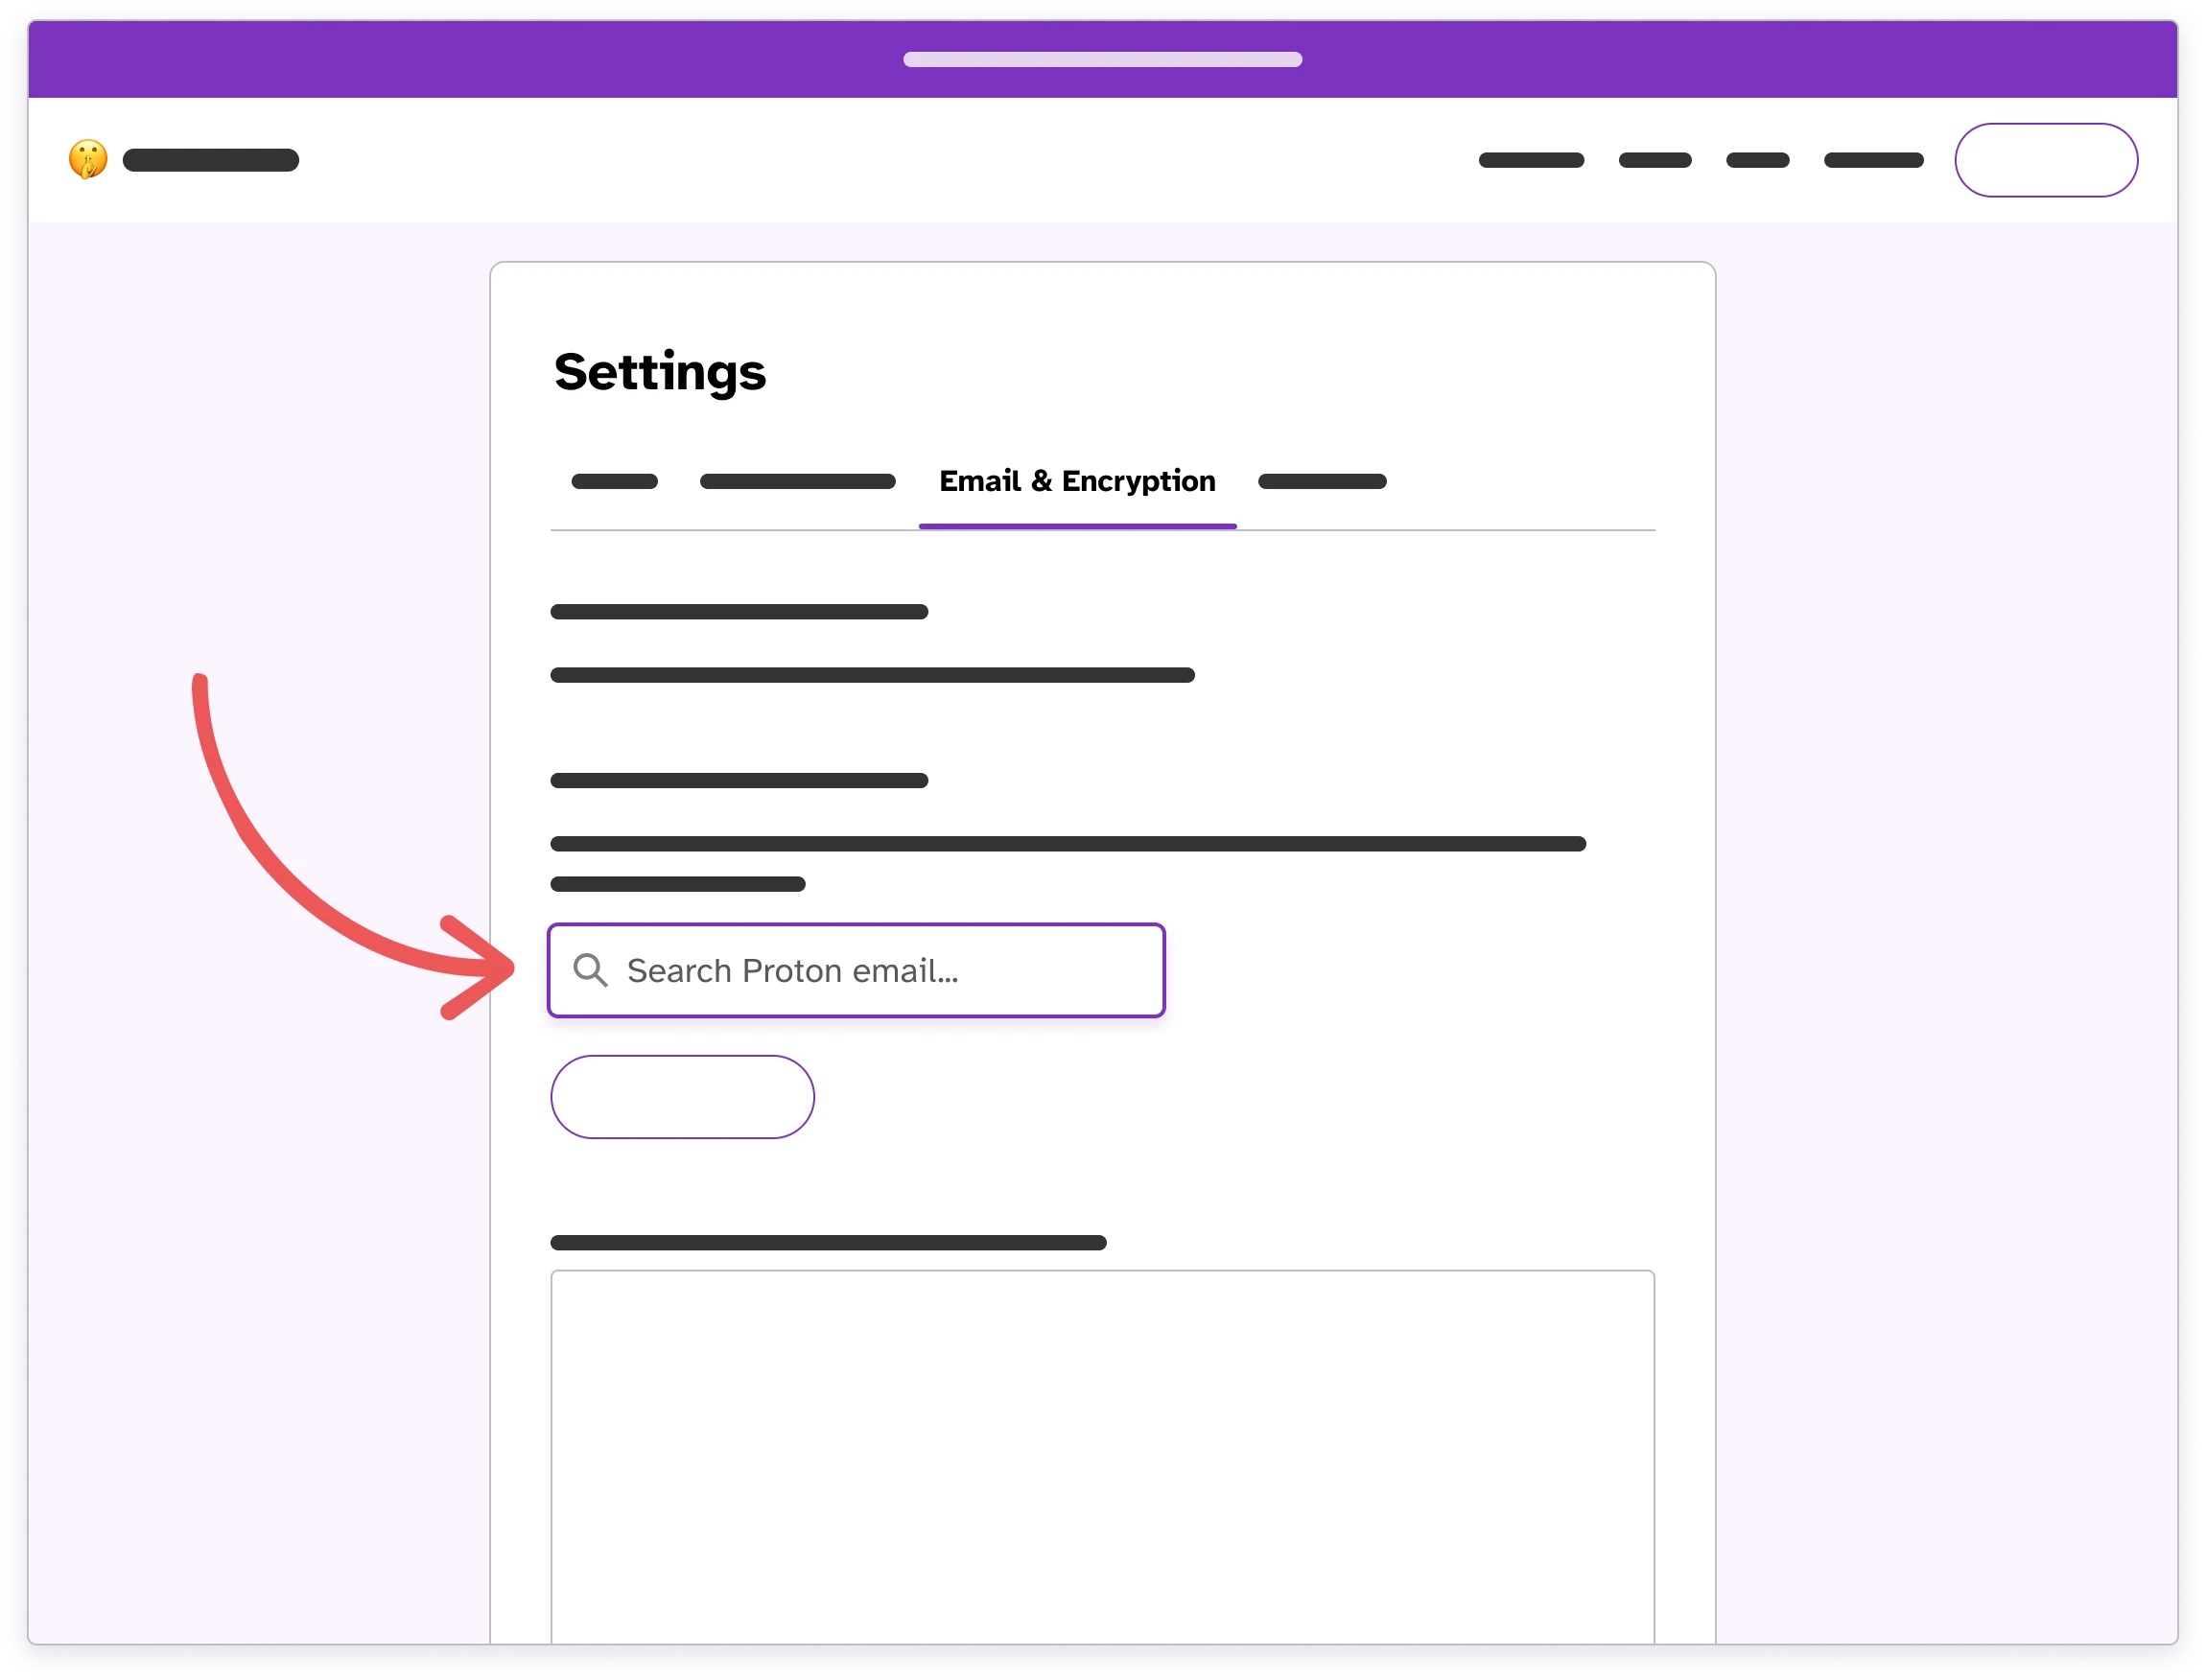
If you don't have a Proton account, head to https://proton.me to create one. In Hush Line Settings, select the Email & Encryption tab. You'll see a search input with placeholder text reading "Search Proton email..." - enter the address you just created and click the Search Proton button. We'll automatically import your key into Hush Line, and your encryption setup will be complete!
Option 2.2.
Use with Mailvelope
If you prefer to use a mail provider like Gmail - or if you use Hush Line with no email forwarding at all - you should use Mailvelope, a browser extension for Chrome, Firefox, and Edge which allows you to read encrypted messages directly in the browser. To get it set up, read their documentation on getting started.
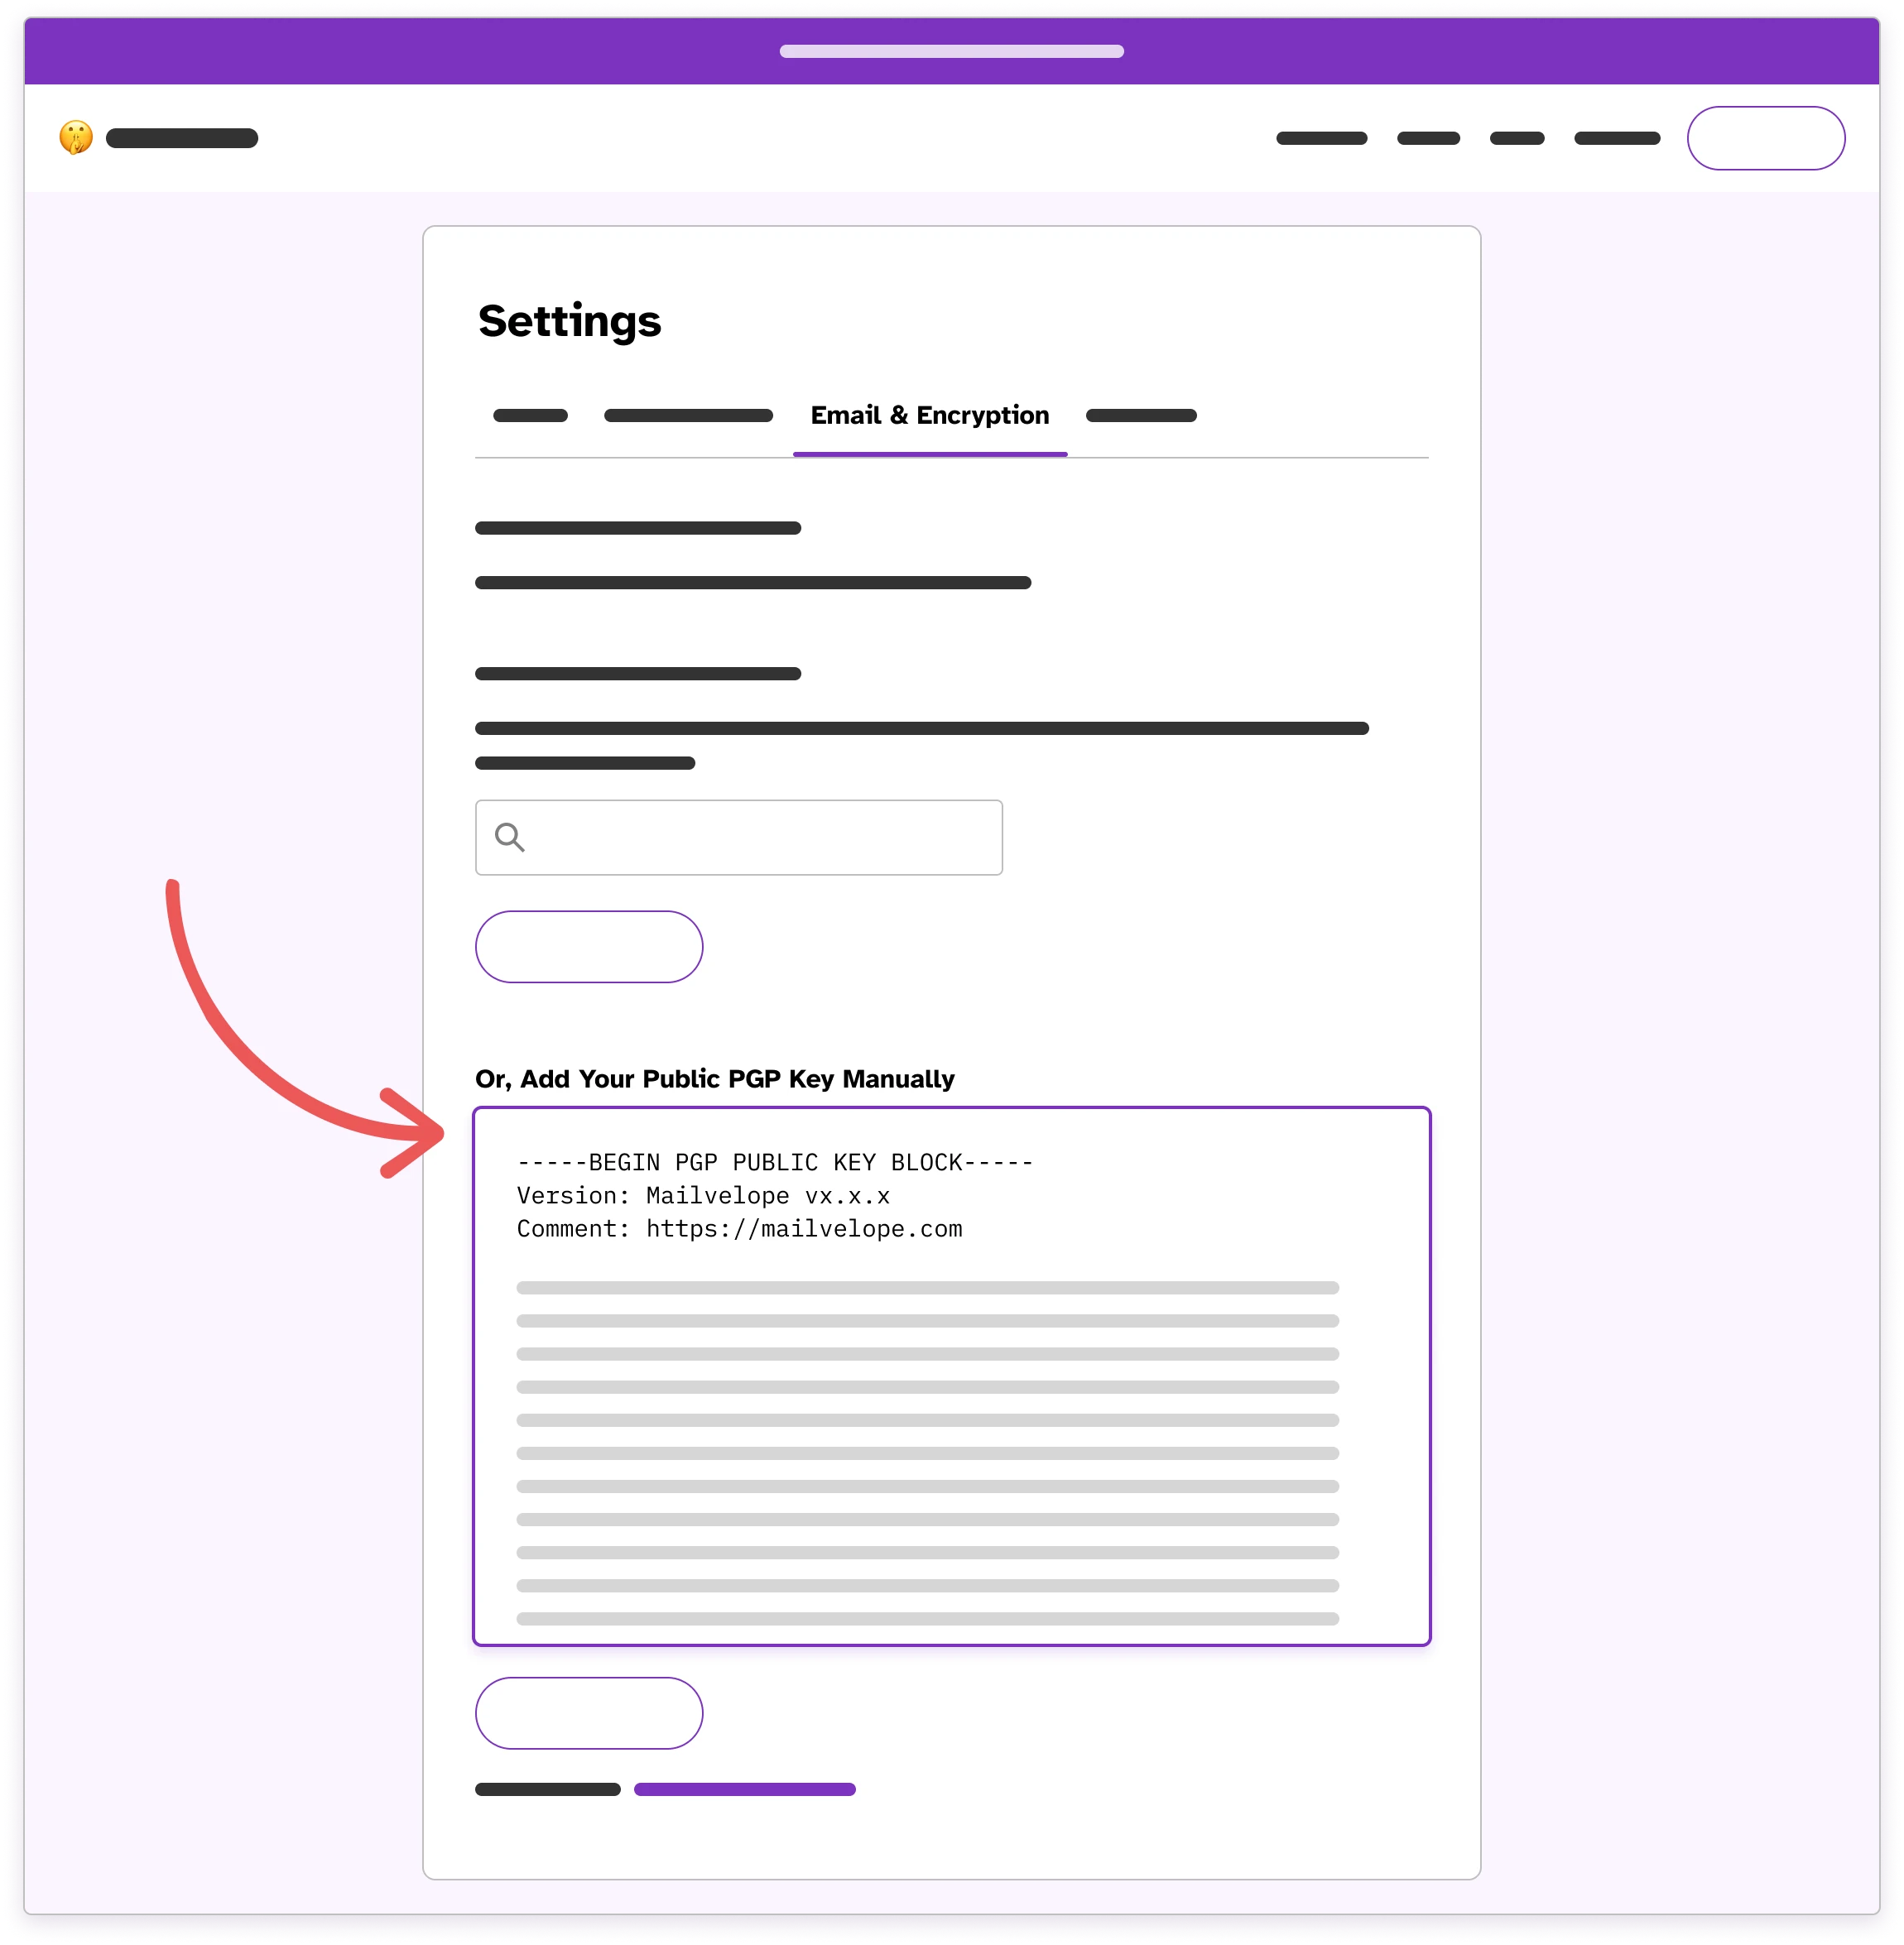
Once you've created your PGP keypair, export your public key. In Hush Line Settings, in the Email & Encryption tab, paste the key into the text area with the label "Or, Add Your Public PGP Key Manually."
Finally, with Hush Line open and your active, visible tab, select "+ Authorize this domain" from the Mailvelope browser extension menu. Once complete, you can read encrypted messages directly in your Hush Line inbox!
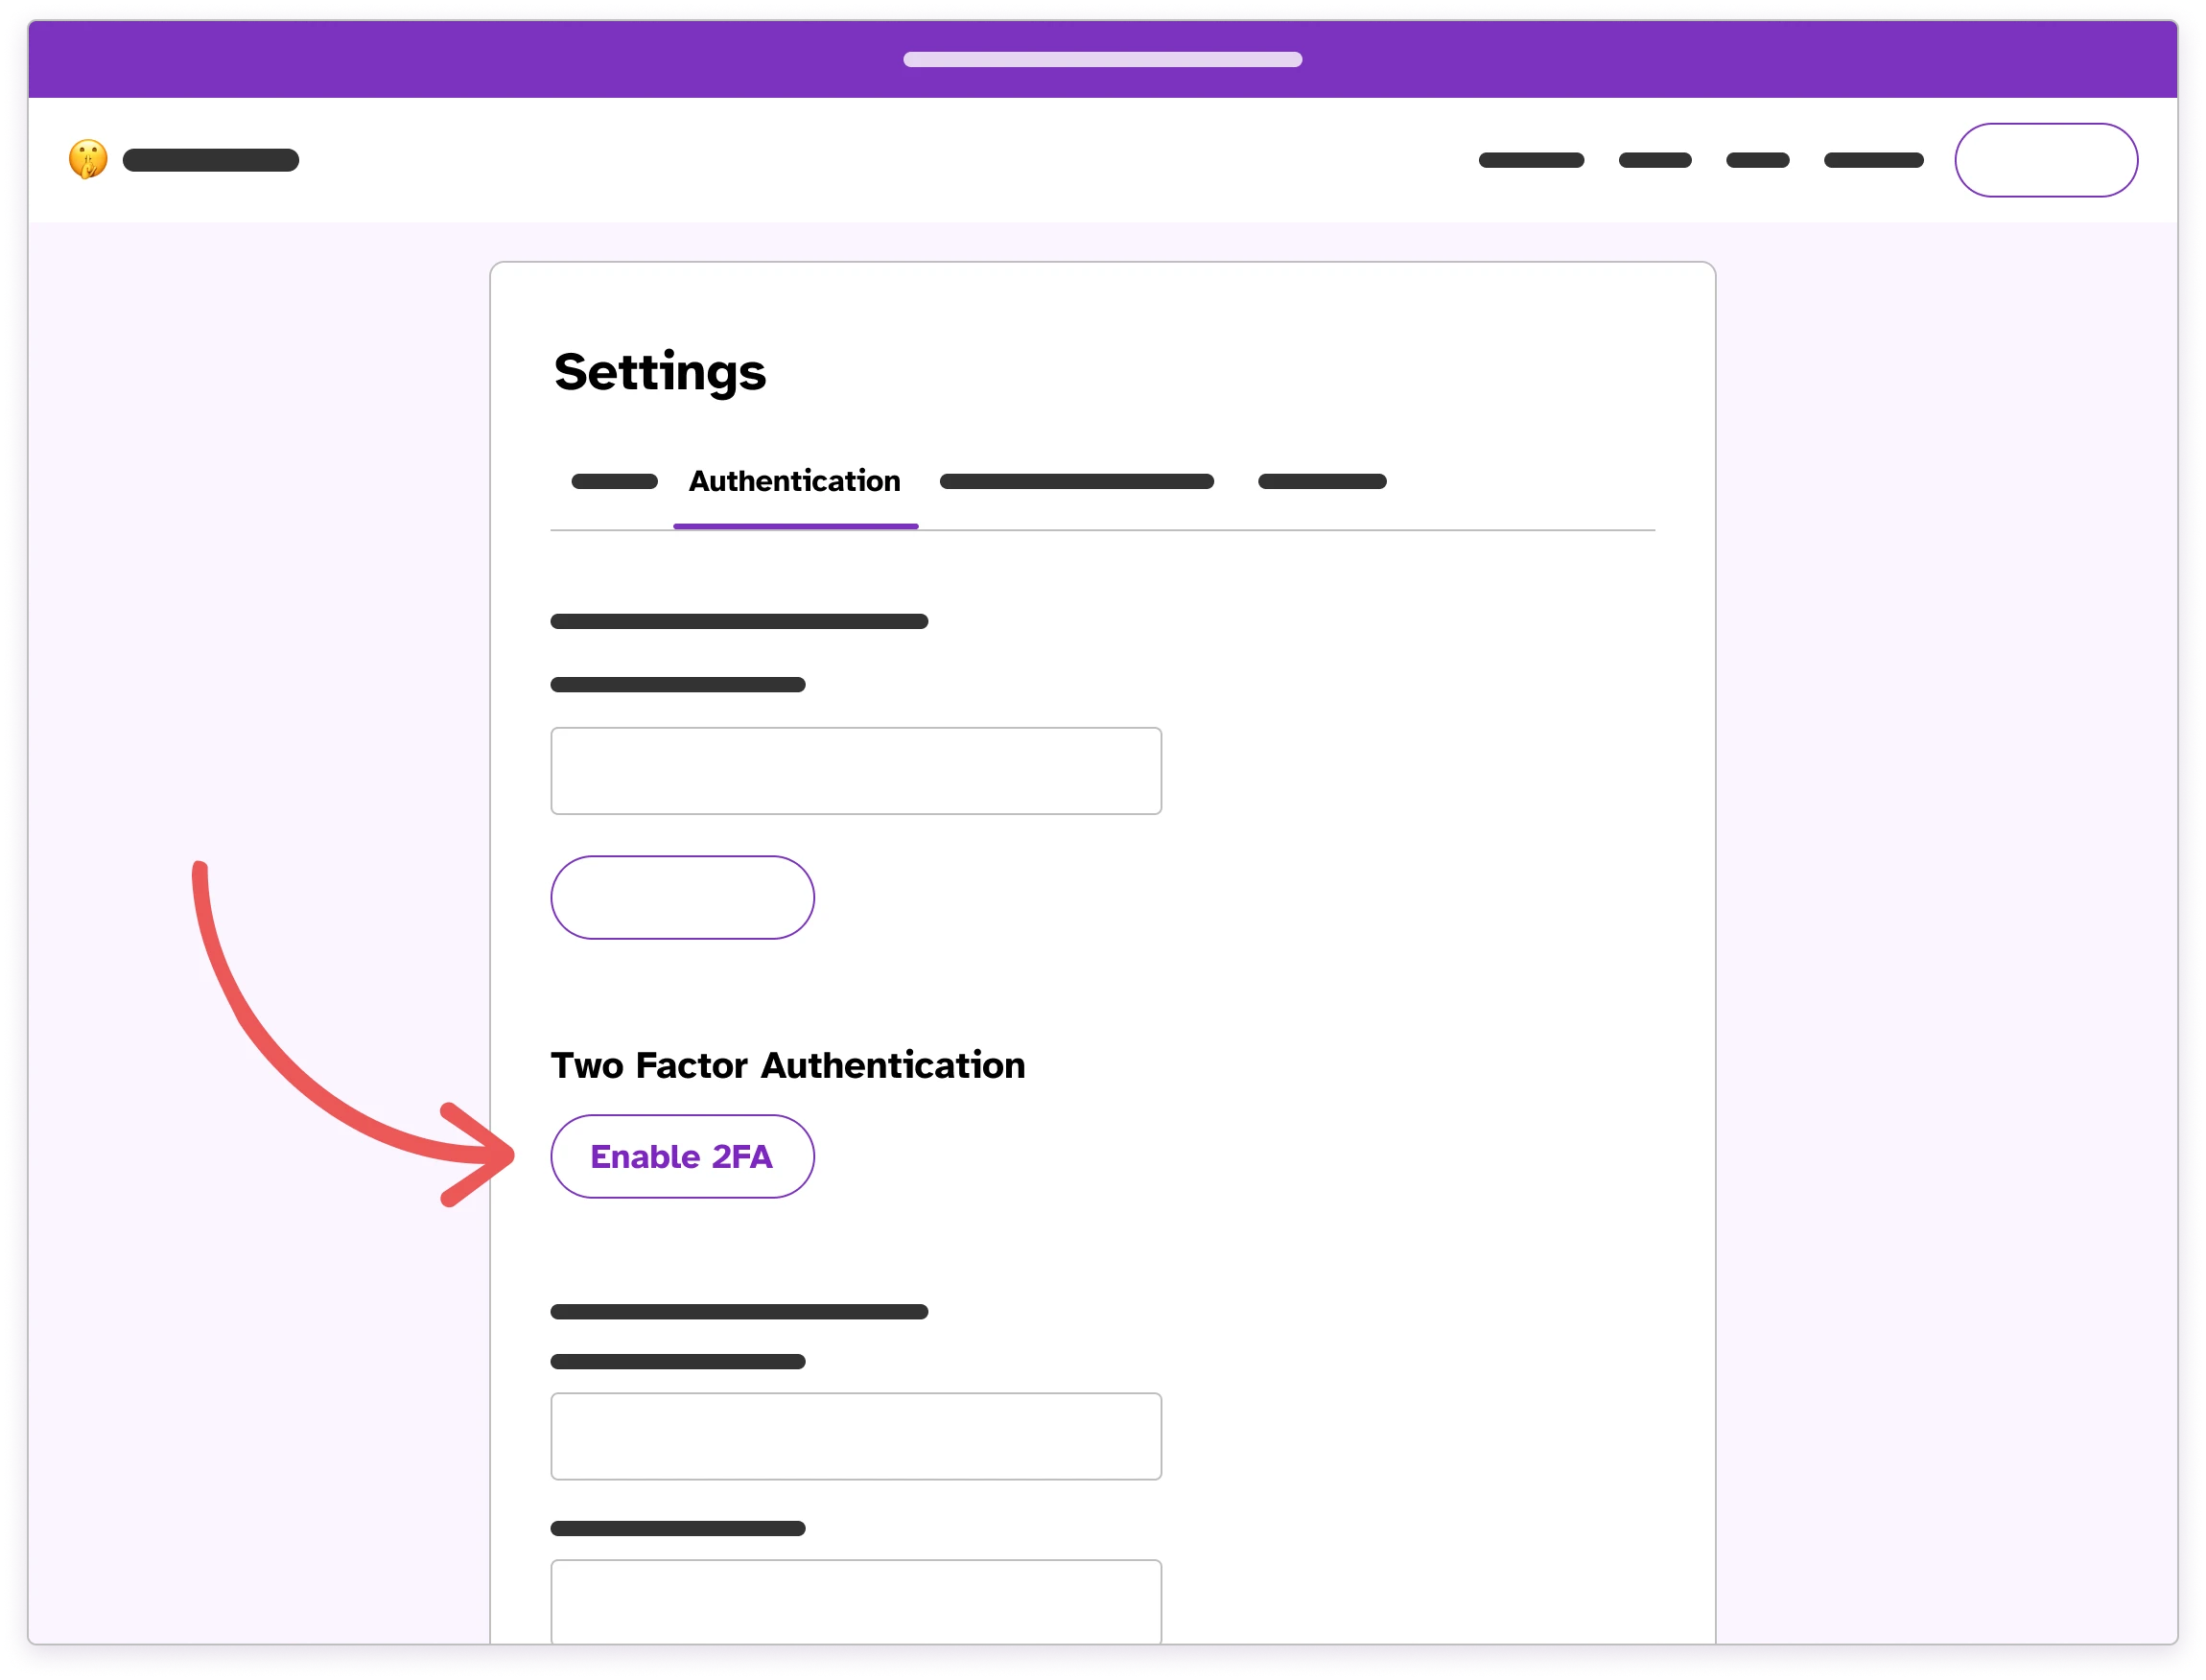
Step 3.
Enable message forwarding
You can enable forwarding so you never have to check back into Hush Line to get messages. If you're using Hush Line with Proton Mail, enter your new Proton email address from Option 2.1 above. When messages arrive in your Proton inbox, they'll automatically be decrypted for you!
If you prefer to forward to a different email provider like Gmail, you should have followed Option 2.2 above to set up Mailvelope. Go to your Gmail inbox in the same browser you have the Mailvelope extension installed. When an encrypted message arrives, you'll see a red seal with the Mailvelope logo. Click on it, and you'll be prompted to enter the password you created when you generated your key.

🎉
Congratulations!
Now that you're set up, you can share your tip line with your organization or community. If you have any questions, feel free to reach out to us using our Hush Line account.